The following explains using the smartphone app screen.
Create a group
Group multiple lights together to control them all at once.
1
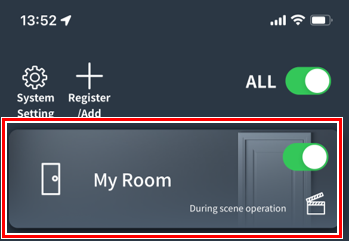
Tap the room where you want to create a group.
2
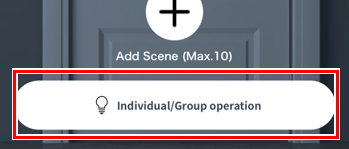
Tap “Individual/Group Operations.”
3
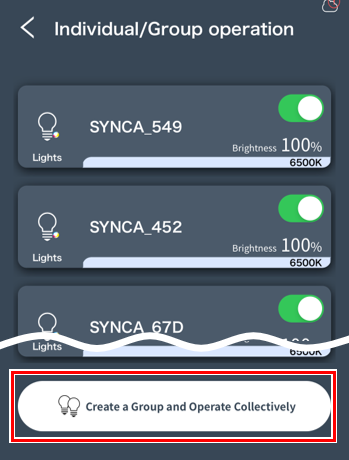
Tap “Create a group and perform bulk operations.”
4
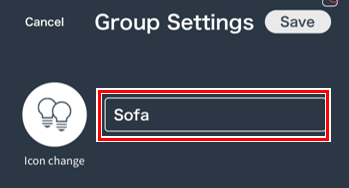
Tap “Save.”
5
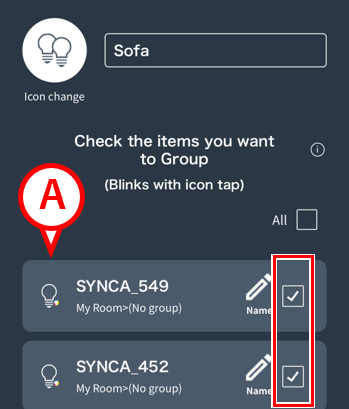
Tap the checkbox for the lights you want to include in the group to check it.
*If you don’t know which light it is, tap the icon (A) to make it blink and find it.
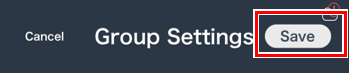
6
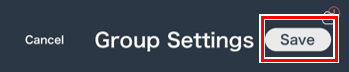
Tap “Save.”
7

Your group is now created.
It’s useful to give it a name
It is useful to give a name to a light so that you can easily identify which light it is.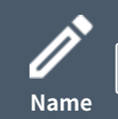 ou can change the name by clicking .
Different types of lighting grouped together
The color that can be controlled in that group is limited to the range of lighting with the narrowest color range.
For example, if “Synca” and “Tunable” are grouped together, the color range that can be controlled in that group will be the color range of Tunable, 2700K to 6500K.
*If a “dimmable” type light is included in the group, color control will be disabled. (Synca/Tunable colors will be unified to 4000K.)
Change group name/icon, delete, change lights to be included in group
This is how to edit or delete a group that you have already created.
1
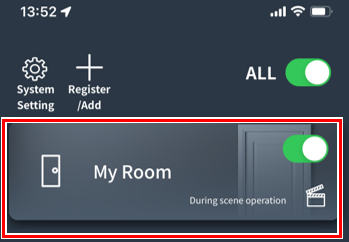
Tap the room that contains the group you want to edit.
2
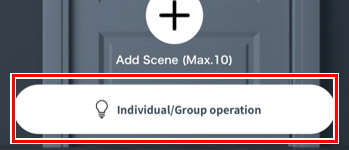
Tap “Individual/Group Operations.”
3
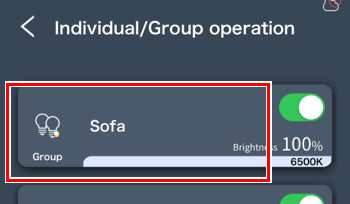
Tap the group you want to edit.
4
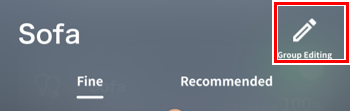
Tap “Edit Group.”
5
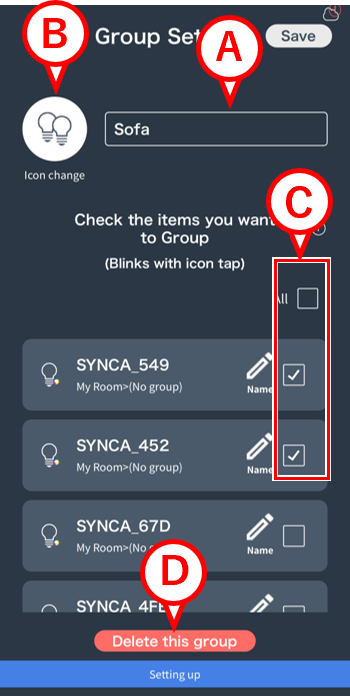
The group editing screen will open.
A:You can change the group name.
B:You can change the icon.
C:Change the lights to be included in the group. Checked lights will be included in the group.
D:You can delete the group.
6
Tap “Save” to save your edits.
*If you deleted the group, this operation is not necessary.
Deleting a group does not delete the lights
If you delete a group, the lights that were in that group will be listed again on the “Individual/Group Operation” screen.
If you want to remove a light:link