The following explains using the smartphone app screen.
Lights up when a person is detected (motion mode)
When the sensor detects a person, you can switch to a specific scene or start a schedule.
1
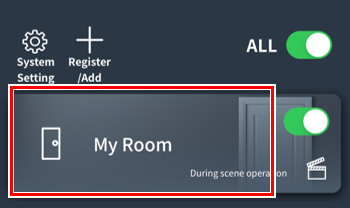
Tap the room that contains the smart switch you want to configure.
2

Tap “Sensor”
3

4
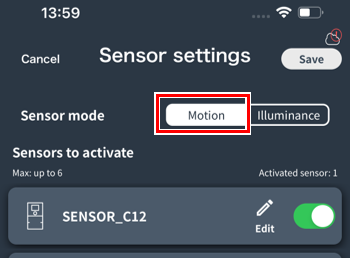
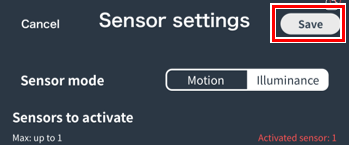
The sensor settings screen will open.
Tap “Human Detection” from Sensor Mode.
5
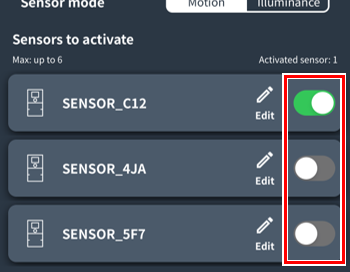
Next, tap on the sensor you want to use to enable it.
(Maximum 6)
*If you don’t know which sensor it is, tap the icon to make it blink and find it.
6
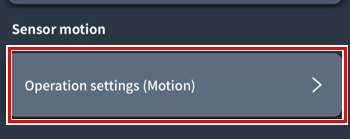
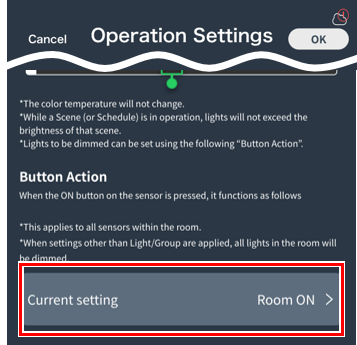
Tap “Operation Settings (Human Sensor Mode)” at the bottom.
7
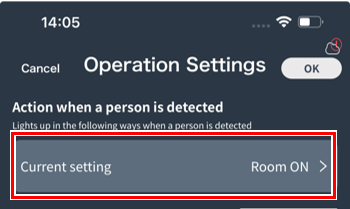
The Action Settings screen will open.
Tap “Current setting” for the action to take when a person is detected.
8
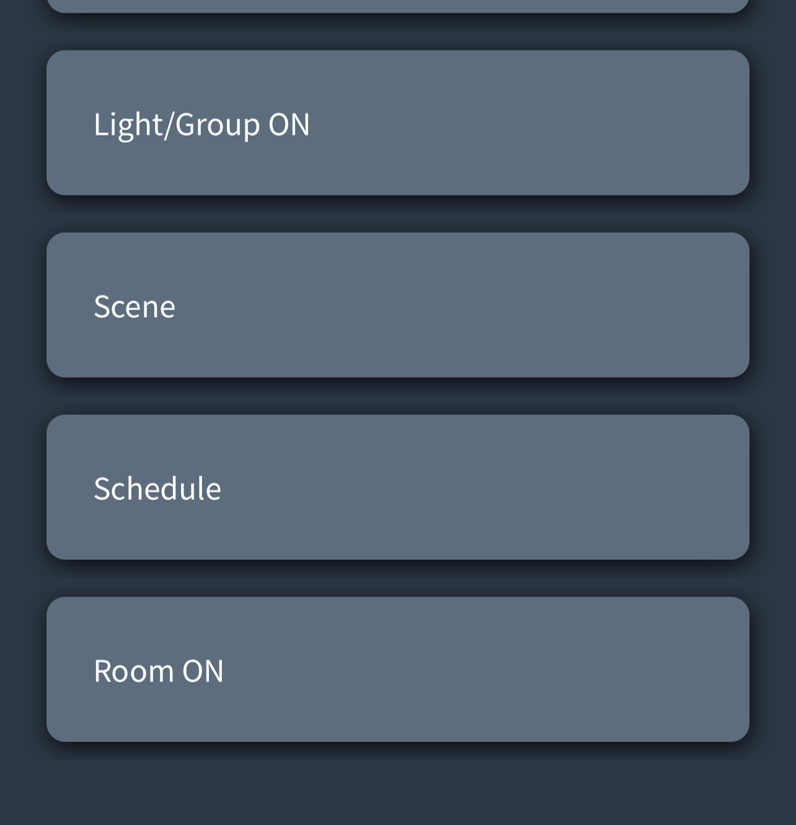
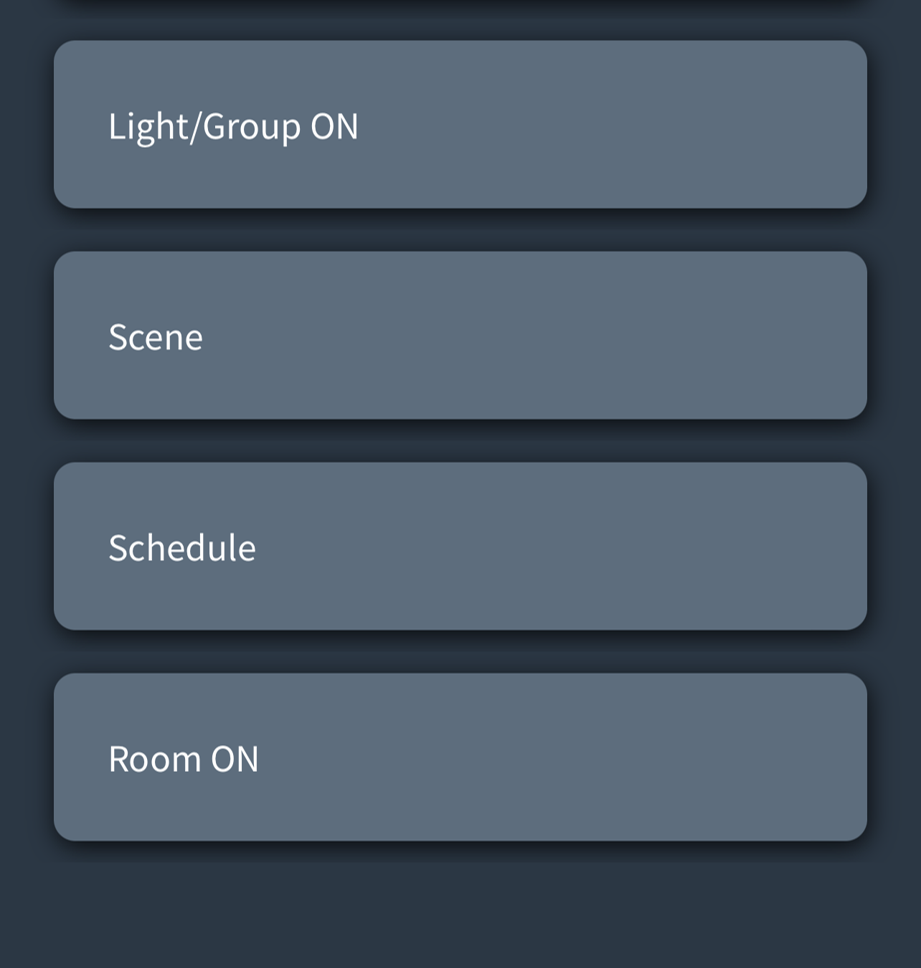
Select the action you want to take when a person is detected.
Details on this screen:link
9[Optional setting]
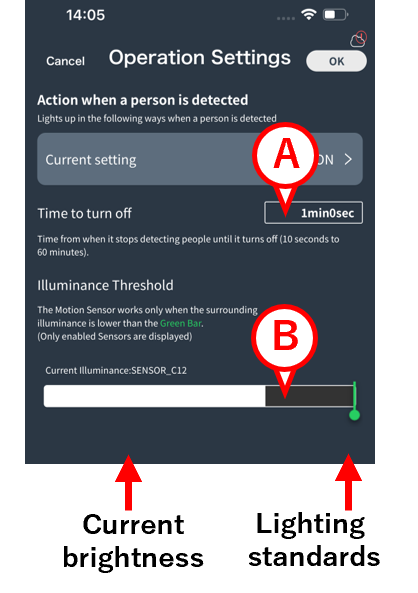
A : You can specify how many seconds it will take for the light to turn off after it no longer detects a person.
* Default: 1 minute
* Range: 10 seconds to 60 minutes (1 second intervals)
B : If the area around the sensor is bright, you can set it so that it does not light up even if it detects a person.
The white area shows the current brightness in real time, and if that area exceeds the green bar, the light will not turn on even if a person is detected. Adjust the green bar left or right.
10
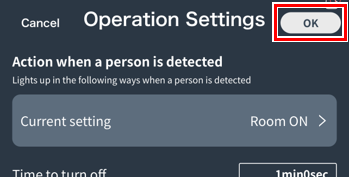
Once you have completed each setting, tap “OK”.
11
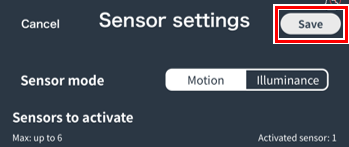
Tap “Save.”
This will save the sensor settings.
Start/stop sensor operationPlease proceed to.
Automatically adjusts brightness according to the surrounding brightness (brightness mode)
If the area around the sensor is dark, the light can be made brighter, and if the area around the sensor is bright, the light can be made darker.
1
linkOpen the sensor setting screen by following steps 1 to 3 .
2
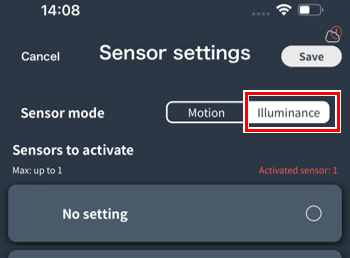
The sensor settings screen will open.
Tap “Human Detection” from Sensor Mode.
3
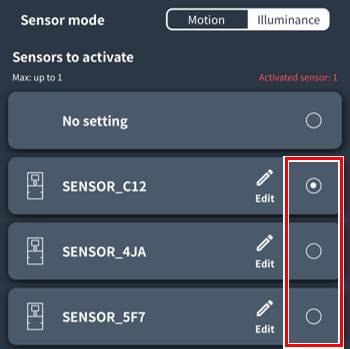
Next,  tap to select the sensor you want to use (up to one).
*If you don’t know which sensor it is, tap the icon to make it blink and find it.
4
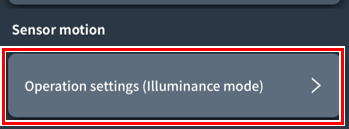
Tap “Operation Settings (Brightness Mode)” at the bottom.
5
The Action Settings screen will open.
Tap “Current Settings” under Actions.
6
Select how you want the light to stay on while the sensor is operating. (Only the dimming rate is automatically adjusted according to the surrounding brightness.)
Details on this screen:link
7[Optional setting]
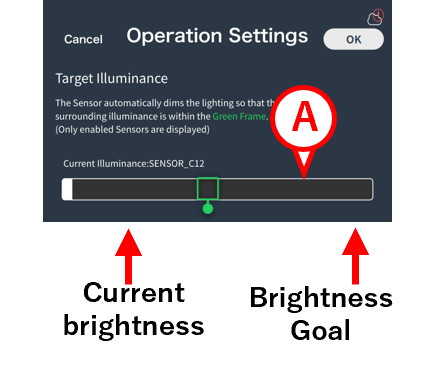
A : You can set how bright the space will remain.
- The white area shows the current brightness in real time.
- Move the green frame left or right to set the target brightness.
- The lighting dimming rate will be automatically adjusted so that the area fits within the green frame.
- The brightness sensor does not adjust for color temperature or DUV.
8
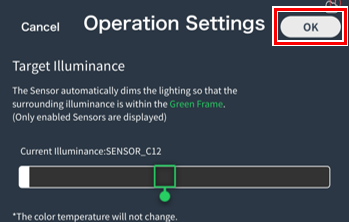
Once you have completed each setting, tap “OK”.
9
Tap “Save.”
This will save the sensor settings.
This pageStart/stop sensor operationPlease proceed to.
Start/stop sensor operation
1
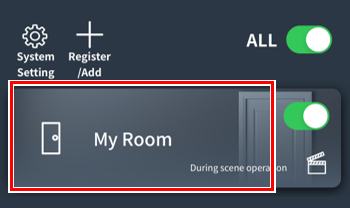
Tap the room where you want to start/stop sensor operation.
2
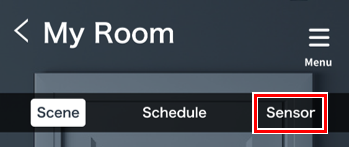
Tap “Sensor”
3
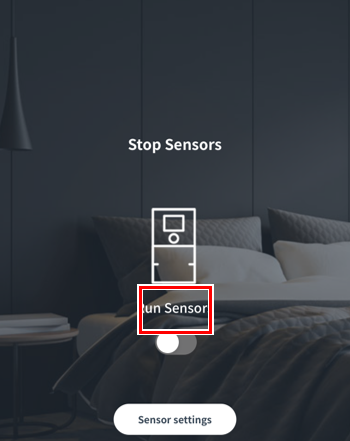
Tap the toggle switch to start/stop the sensor operation.
*If the switch is not displayed, please set the sensor in advance.
Change name/Check information/Initialize
1
linkOpen the “Sensor Settings” screen by following steps 1 to 3 .
2
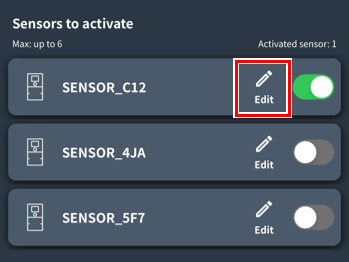
Tap “Edit” for the sensor you want to configure.
3
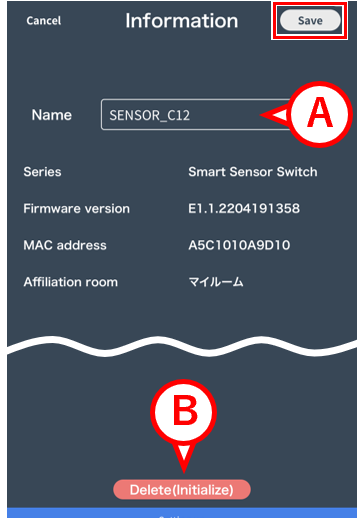
The information screen will open and you can check various information about the sensor.
How to change the name: Tap A , enter the name, then tap “Save.”
How to reset: Tap B