The following explains using the smartphone app screen.
Locking the Settings screen
If you want to prevent third parties from changing settings such as editing scenes and schedules, you can password protect those screens.
1
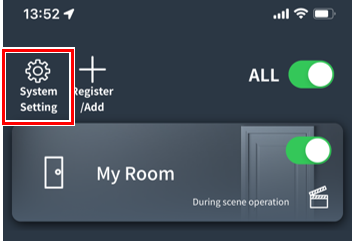
Tap “System Settings.”
*If you are asked for the Admin Password, the settings screen is already locked.
2
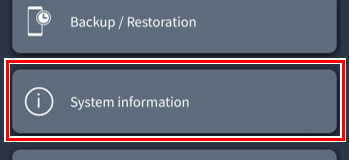
Tap “System Information” at the bottom.
3
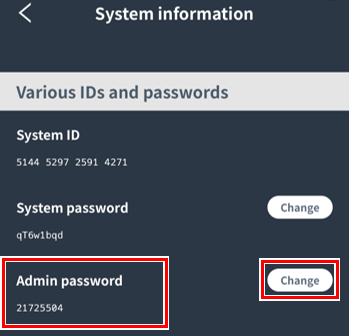
Make a note of the Admin Password.
This password is required to unlock the settings screen. If you forget it, you will not be able to change the settings, so be sure to write it down.
If you want to change the Admin Password, you can do so by clicking the “Change” button.
4
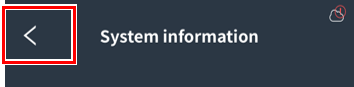
Tap “<” to return to the system settings screen.
5
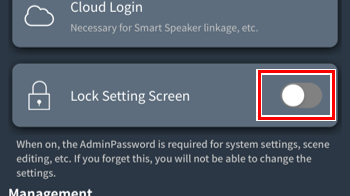
Tap the “Lock Settings Screen” toggle switch.
The settings screen is now locked.
About the lock screen
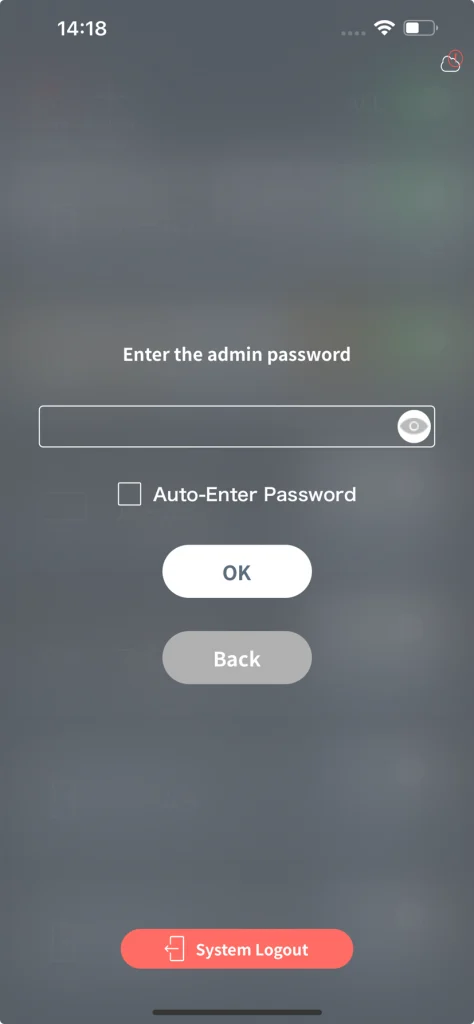
If “Lock settings screen” is ON, when you tap a setting change button, the screen shown on the left will open.
For the password, enter the Admin Password.
If you do not know the Admin Password, check the ID/password sticker that came with the gateway.
(However, this only applies if you have not changed your password.)
The main settings that can be locked are:
- System Settings
- Room Settings/Add/Delete
- Create/Edit/Delete Group
- Remote Control Settings
- Switch Settings
- Repeater Settings
- Sensor Settings
- Add or move lighting and peripherals
- Scene Edit/Add/Delete
- Schedule edit/add/delete
- Device Settings